Showing posts with label bread. Show all posts

August 13, 2011

If At First You Don't Succeed...

...get new yeast, then get new flour and try again.

Ladies and gentleman, a guest post by MG!

As you may know, my project for the summer was to start baking my own bread. For my birthday, a scale, a bench scraper, a bread baking book and a journal to track my progress were bestowed upon me by a mysterious benefactress. I have yet to make use of the book, it is a little advanced for me to just start with, but the other devices are seeing some action. I decided that my first bread recipe (not counting the various banana breads I’ve made in the past) should be the famous no-knead bread recipe from Jim Lahey at the Sullivan Street Bakery as adapted by Mark Bittman in his Minimalist column.


The first time I made the recipe, it was a disaster. The bread mixed well into a dough, but when I came back 14 or so hours later, it was like pancake batter. I decided it must be my yeast, which had been open for more than 6 months, and thus possibly really, very, truly dead. So I got some new yeast and tried again, this time was different - no, wait - it was also a horrific failure. I made several more changes for a third try, but I told myself I wouldn’t waste any more flour if this one didn’t work out.


Various stages of the process.

The first change I made was to my ingredients. Previously, I had been using all-purpose flour; the recipe says you can and that’s what I had. Upon further inspection at the grocery store, bread flour (something one assumes is meant for my task) was about the same price as a 5 pound bag of APF, so I bought some.

Next, I also did some research on the Internet. I learned during my searches that I was not the only one to end up with pancake batter instead of bread dough. There were two main reasons for my failure: 1. I wasn’t using instant yeast and 2. I was probably letting it rise too long (such a thing is possible). I learned how to correct my yeast deficiencies from Deb at Smitten Kitchen (she talks about it here). Basically, if you are using dry active yeast instead of instant yeast (dry active is more common and most likely the only option at your local store), you actually need to use ⅓ teaspoon instead of the ¼ teaspoon the recipe indicates. I also learned from the comments in that posting that my fallen dough was caused by the lengthy rise in my warm, humid Washington, DC apartment.

Finally, I believed that the dough was too wet from too much water so I just used 1½ cups of warm water to make the dough.

Armed with this knowledge I struck out on my third attempt. It was a resounding success. I used warm water, adding a cup at a time and then the extra half a cup to get a good sticky texture. I only let the dough rise for 11 hours (I started it at 6:30am and went to bread baking upon my arrival home from work) and presto, 3 more hours later, I had bread.


Good with peanut butter. Or butter. Or just by itself, right out of the oven.

No-Knead Bread
Adapted from Jim Lahey of Sullivan Street Bakery and Mark Bittman at the New York Times, with knowledge from Deb at Smitten Kitchen

Makes one 24 ounce loaf.

3 cups all-purpose or bread flour, more for dusting
¼ teaspoon instant yeast or ⅓ teaspoon dry active yeast
1¼ teaspoons salt
1½ cups warm water
Cornmeal or wheat bran as needed.

In a large bowl combine flour, yeast and salt. Add 1½ cups warm water, and stir until blended; dough will look sticky, but should form into a mass. Cover bowl with plastic wrap. Let dough rest at least 12 hours, preferably about 18, at warm room temperature, about 70 degrees. If your kitchen is warm, the first rising time can be as little as 8-10 hours.

Dough is ready when its surface is dotted with bubbles and it clearly is a solid, foldable mass. Lightly flour a work surface and place dough on it; sprinkle it with a little more flour and fold it over on itself once or twice. Cover with plastic wrap and let rest about 15 minutes.

Gently and quickly shape dough into a ball, you can flour or wet your hands for this step. Generously coat a cotton towel (not terry cloth) with flour, wheat bran or cornmeal; put dough seam side down on towel and dust with more flour, bran or cornmeal (I just used all-purpose flour). Cover with another cotton towel and let rise for about 2 hours. When it is ready, dough will be more than double in size and will not readily spring back when poked with a finger, but should still be pliable.

Half an hour before dough is done with its second rise, heat oven to 450 degrees. Put an oven-safe heavy, covered pot in the oven while it preheats (I used my trusty red Dutch oven). When dough is done with the second rise, carefully remove pot from oven. Slide your hand under towel and turn dough over into pot, seam side up; it may look like a mess, but that is not a problem. Shake pan once or twice if dough is unevenly distributed; it will straighten out as it bakes. Cover with lid and bake 30 minutes, then remove lid and bake another 15 to 30 minutes, until loaf is golden brown and irresistible looking. Cool on a rack.

*Note: This bread has something of a thin crust and may actually be easier to cut when slightly warm.

August 3, 2011

The Boy Bakes: When Things Go Wrong, Completely Change Your Plans

Today is the first guest blog by the one and only Cookies and Kale boyfriend, MG. He's been cooking and baking since he was a teenager and has quite a few notches on his cutting board. He's definitely been an inspiration to me in the kitchen (cue: aww) and I know for a fact that his famous raspberry-rhubarb pie (with real homemade butter crust!) has earned him more than a few groupies among our friends. So without further ado: MG.

The plans you make in the kitchen will not always work out, that is an ironclad rule of the space. There have been too many times to count when I have burnt a screw-head from the oven door into my leg because I was wearing shorts and forgot where I was and times when my produce has been too past its prime to use. At these times, once the cursing dies down and salve is applied, you basically have to completely change what it was you were going to do that day.

Sunday was a day like that for us. The intention was for me to start on my Bread Project and then we would go for a late lunch using a coupon we had and end with a nice one-pot dish for dinner. None of those things happened exactly as we had planned. The bread I attempted to make was the famous no-knead bread. I failed, miserably. The yeast never woke up and performed its magic, I suspect it was a combination of it either being dead yeast (a distinct possibility) or that day was simply too hot and humid (also a likely culprit). That failure was quickly followed by another.

The face of failure. 

I re-read the coupon and lo and behold, it couldn't be used until after 4 p.m. At least I looked before we left with a meal in mind. That left one viable option: it was lunch time and we would just have to move up the dinner idea. The Tex-Mex Arroz con Pollo was indeed a success and I know first-hand that it can take as little as an hour to prepare (and you can take a quick shower while it's in the oven to no ill effects).

Bubbly now, delicious later.  Homegrown hot peppers from a co-worker.
Fresh is better, no?

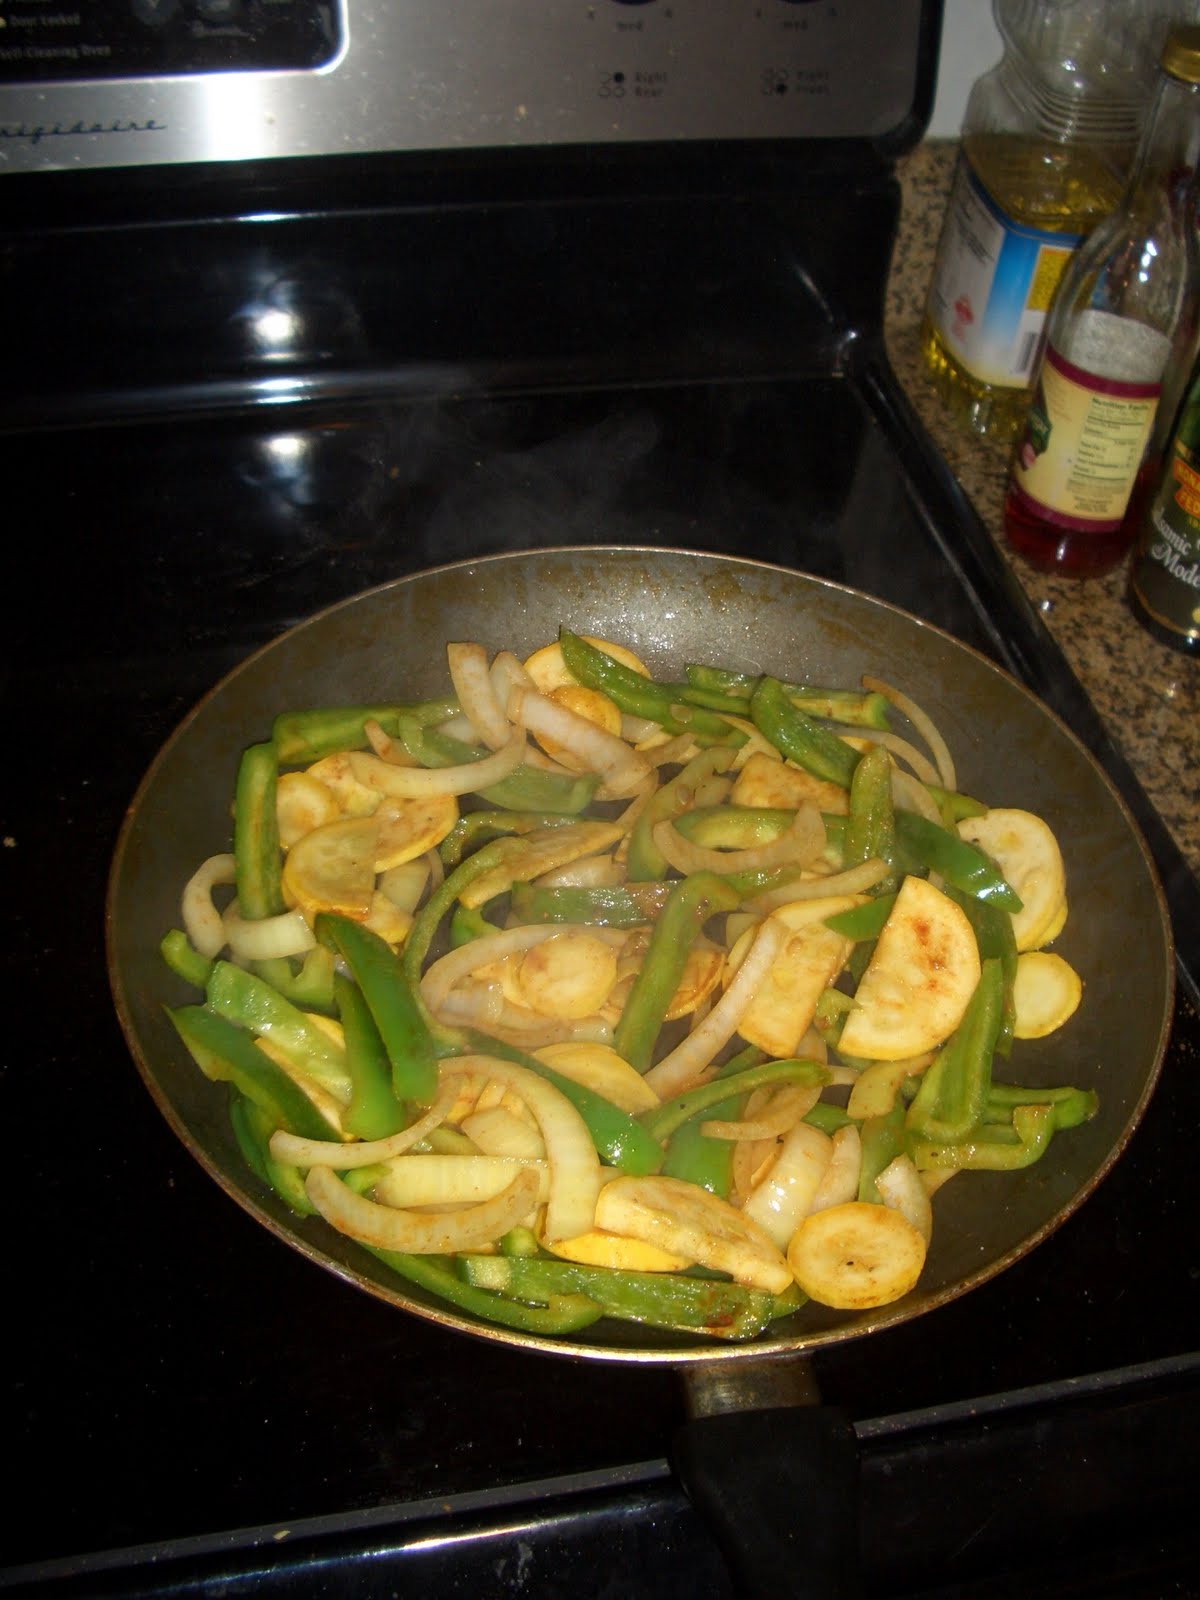
The finished product.   Served with a side of fajita-style veggies.

Tex-Mex Arroz con Pollo
Adapted from Prevention Magazine's Easy One-Dish Meals via Esther's mama

2 tsp olive oil
1 large red bell pepper, diced*
1 med. onion, diced
2 celery stalks, diced
3 garlic cloves, minced
1 bay leaf
12 oz. skinless, boneless chicken thighs, cut into 1-inch chunks
3/4 cup long-grain white rice
2 tsp chili powder
2 tsp ground cumin
1 tsp dried oregano
1/2 tsp ground turmeric
1/8 tsp ground red pepper (cayenne)
1 cup chicken broth*
1/2 cup water
14-oz can chopped green chilies, drained*
1 15-oz can black beans, rinsed and drained
1/2 cup diced tomato*
Fresh cilantro or parsley sprigs for garnish*

Servings: 4-8*

*Lots of notes: 1. We used a green pepper because I bought the wrong kind, no harm, just a little different color. 2. I actually used Better Than Boullion and it worked fine. 3. We used fresh cubanelle peppers because Esther's co-worker generously shared some with us. 4. We used a whole can of diced tomatoes, some of the liquid drained. 5. I hate cilantro, so we didn't use it. We had parsley, but didn't use that either. 6. The servings would be gigantic at 4, lunch-sized at 8, we went with 6 and were more than satisfied.

As a general rule for me, the seasoning measures are a suggestion. I like things spicy, so I used a bit more cayenne and added some homemade hot sauce to the diced tomatoes (Esther didn't know that when I made it). I also like to organize my cooking area so that everything that gets added in the same step is together. All the veggies are in their own bowl, all the spices and rice, etc. It makes adding things a little easier and saves time.

Directions:
Preheat oven to 375 degrees.

In an ovenproof pot or pan (I used my trusty 5 qt Dutch oven), warm the oil over medium-high heat. Add the bell peppers, onions, celery, garlic and bay leaf (do it, I know it seems out of place), if you use fresh green chiles add them now and saute for 2 to 3 minutes, or until the vegetables begin to soften.

Add the chicken, reduce the heat to medium (I did not do this since my pan was pretty crowded) and saute for 3 minutes (or around 5), or until the chicken is lightly browned or no longer pink outside. (I turned the heat down to medium once I was done with the chicken, you should too at this point).

Stir in the rice and remaining spices, cook for 1 minute, or until the spices are fragrant and have coated everything.

Add in broth, water and canned chiles (if using). Cover and bake for 20 minutes.

After 20 minutes, uncover, stir in beans and tomatoes. Leave uncovered and bake for an additional 5 minutes or until beans are heated. Add garnishes if you desire.

The recipe is fairly straightforward. Esther's mom made it on the stove (as opposed to in the oven), and it turned out fine - the veggies might be a little softer. We ate it with a side of fajita veggies I just whipped up from an onion, a summer squash, some peppers, a tablespoon of vegetable oil, spices and heat.